Production-Ready Deployments to VPS
Let’s set up a server where we can upload all our projects. We’ll be able to upload projects in any language, and they’ll be automatically deployed when we push code, just like on Vercel.
There are tools that allow you to replicate similar functionality, like coolify. But we’re going to build it ourselves.
Buying and Configuring the VPS
We’re going to buy our VPS from https://contabo.com/en/, but you can use Hetzner, Digital Ocean, or any provider you prefer.
Our only requirement will be to install Ubuntu 20. Once we have the IP address and our password, we can access our server via SSH.
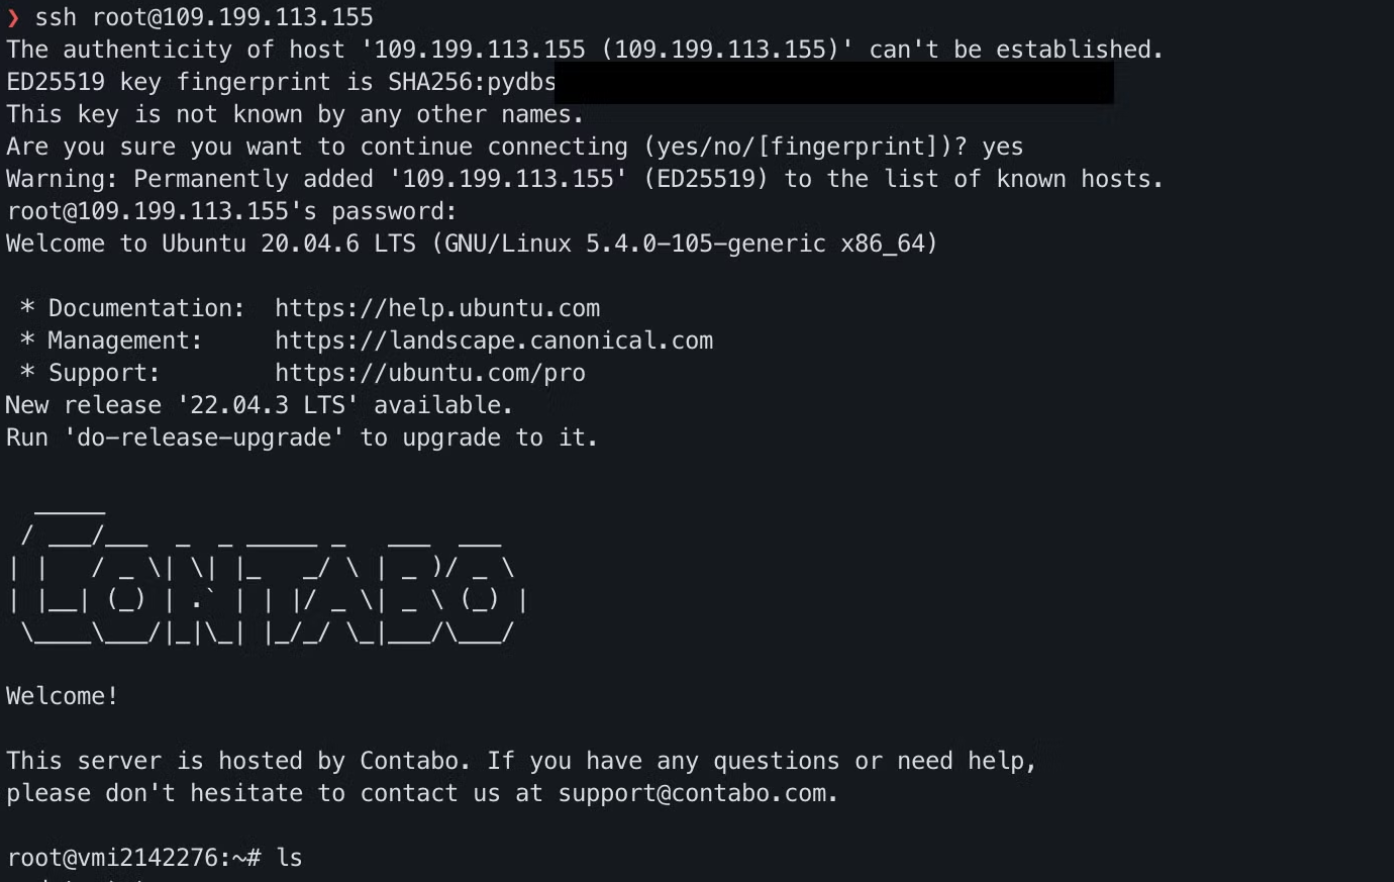
Generating Our Private Keys
Let’s generate SSH keys for our server with the following command:
ssh-keygen -t ed25519 -C "yoursecretcode"

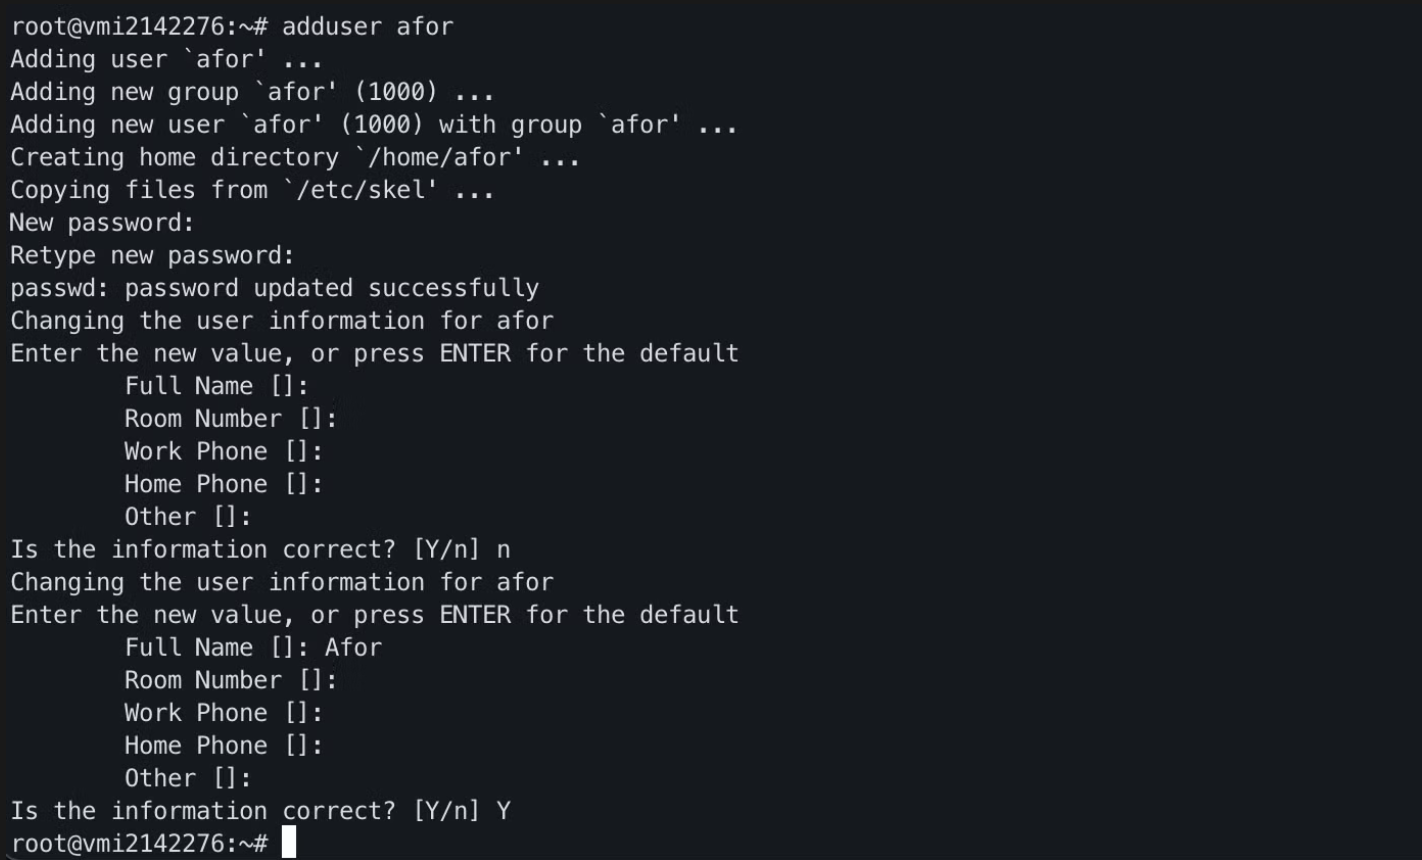
Creating a User
It’s highly recommended to create a new user instead of using root, so let’s do that.
$ adduser afor
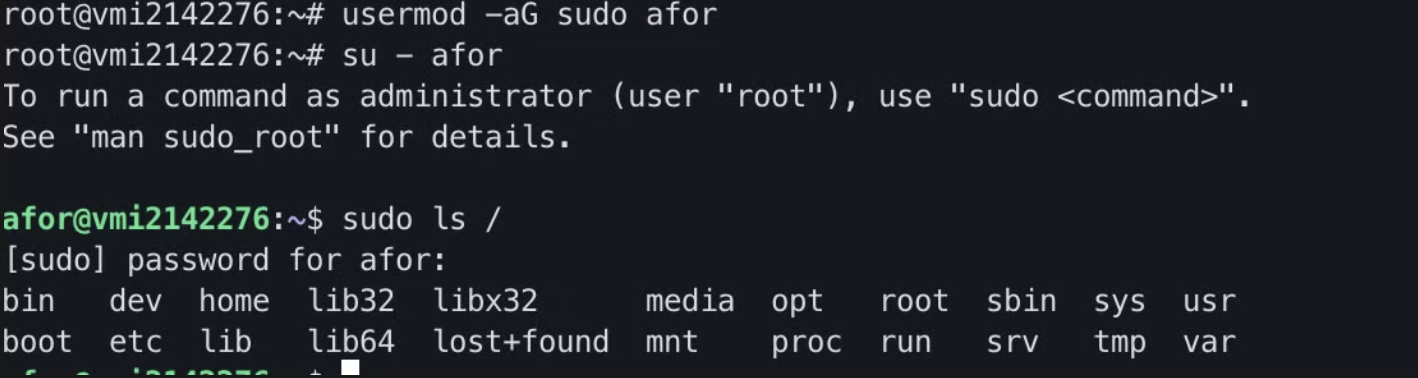
Then we’ll give sudo privileges to the user we just created:
// Grant sudo privileges
usermod -aG sudo afor
// Switch to that user
su - afor
// Run a sudo command
sudo ls /
Configuring a Domain for Our VPS
Like any server, we can assign a DNS to our new VPS. To do this, we need to buy the domain of our choice and in the DNS configuration. Add an “A” record with the IP address of our server. Once it propagates, our domain will resolve to our DNS.
Disabling Password
Once we have the key, we need to register it on the server:
ssh-copy-id afor@[IP]
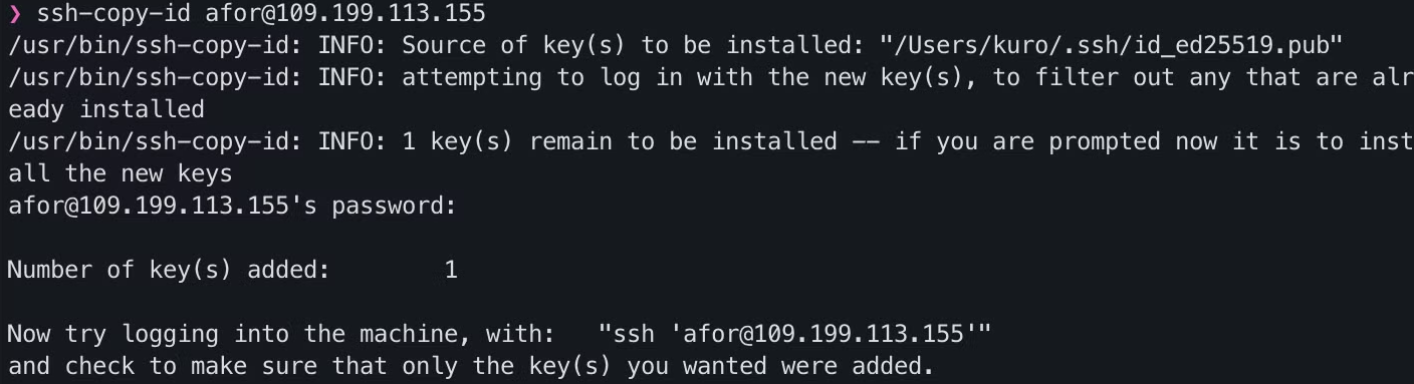
After entering our passphrase, we’ll be able to connect again.
Disabling Password Connection
To disable it, we need to modify the SSH configuration.
sudo vim /etc/ssh/sshd_config
I use vim, but you can use any editor you prefer.
Look for the following lines and leave them like this:
# To disable tunneled clear text passwords, change to no here!
PasswordAuthentication no
...
PermitRootLogin no
...
UsePAM no
// Once done, restart the SSH service
$> sudo systemctl restart ssh
// And try to connect again (in another terminal window
// leave the connection open just in case!)
If we’ve done everything correctly, we should only be able to access with the user and passphrase we created.
Checking Our VPS Connection
We’ll use a React + Vite project as an example. Now that we have some things configured, we should install what’s necessary to run our projects, even if it’s in development mode.
Once installed, we can start the project as pnpm dev --host. Emphasis on this last parameter, as we need the project to be able to communicate with the rest of the network.
If we access the address of our IP (or domain) and the port in question in the browser, we’ll see how it’s displayed.
But this is the development environment, it’s not what we should do. Now it’s time to Dockerize our app.
services:
  askfor:
    image: ghcr.io/afordigital/askfor:prod #Your app image
    ports:
      - "5173:5173"
Protecting VPS Requests and Ports
The only ports we’re interested in are 22 for SSH, 80 for HTTP, and 443 for HTTPS in case we enable a domain with SSL.
For this, we’ll use a firewall, Uncomplicated Firewall / UFW, which is also included in Ubuntu.
First, we’ll disable all incoming traffic to the VPS and enable outgoing traffic.
$> sudo ufw default deny incoming
$> sudo ufw default allow outgoing

Then we need to enable the connection to OpenSSH, to be able to keep entering our server. This is very important, because we can get locked out if we don’t do it and we’d have to restart the server and start from scratch if you don’t have backups. For this, we enter the following command:
$> sudo ufw allow OpenSSH
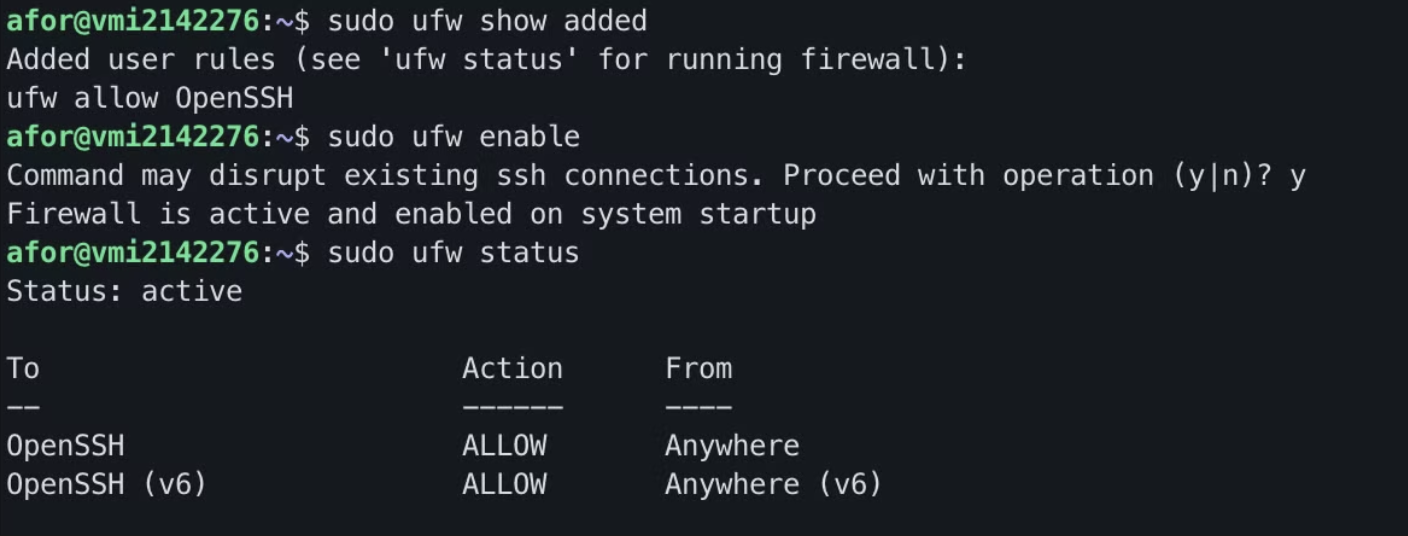
Once this is done, we can list the rules we’ve added, enable it, and check the firewall status:
$> sudo ufw show added
$> sudo ufw enable
$> sudo ufw status
By doing this, no port will be exposed, except those we explicitly indicate in a dockerfile or compose.yml. But this is not desirable. We’ll solve it with a reverse proxy, which will be the only thing exposed to the internet and will handle redirecting traffic. Options like Nginx can be used, but I’ll use Traefik.
services:
  reverse-proxy:
    image: traefik:v3.1
    command:
        - "--api.insecure=true"
        - "--providers.docker"
    ports:
        - "80:80"
        - "8080:8080"
    volumes:
        - /var/run/docker.sock:/var/run/docker.sock
  askfor:
    image: ghcr.io/afordigital/askfor:prod
    labels:
        - "traefik.http.routers.askfor.rule=Host(`109.199.113.155`)"
Note how we don’t need to declare the ports of our project, Traefik will handle it
After bringing up the container with docker compose up we’ll enable the corresponding ports:
$> sudo ufw allow 80
$> sudo ufw allow 8080
Container Replicas
We can make a small load balancer if we set the replicas in the yaml.
services:
  reverse-proxy:
    image: traefik:v3.1
    command:
        - "--api.insecure=true"
        - "--providers.docker"
    ports:
        - "80:80"
        - "8080:8080"
    volumes:
        - /var/run/docker.sock:/var/run/docker.sock
  askfor:
    image: ghcr.io/afordigital/askfor:prod
    labels:
        - "traefik.http.routers.askfor.rule=Host(`109.199.113.155`)"
    deploy:
        mode: replicated
        replicas: 3
This will make the requests spread among the number of replicas we create.
CI / CD
I’ve already written about how to deploy a container to a VPS using Github Actions. You can check it out here.
But recently I discovered there are some docker images that can help us with this task. One of them is watchtower, which will monitor the tag of our app’s image. When it changes, it will re-download the image and restart the containers.
services:
  watchtower:
    image: containrrr/watchtower
    command:
        - "--rolling-restart"
        - "--label-enable"
        - "--interval"
        - "30"
    volumes:
        - /var/run/docker.sock:/var/run/docker.sock
  reverse-proxy:
    image: traefik:v3.1
    command:
        - "--api.insecure=true"
        - "--providers.docker"
    ports:
        - "80:80"
        - "8080:8080"
    volumes:
        - /var/run/docker.sock:/var/run/docker.sock
  askfor:
    image: ghcr.io/afordigital/askfor:prod
    labels:
        - "traefik.http.routers.askfor.rule=Host(`109.199.113.155`)"
        - "com.centurylinklabs.watchtower.enable=true"
    deploy:
        mode: replicated
        replicas: 3